If you have ever need to have another OS running besides the one you
usually use, then there is lots of available software on the market to
allow you do this. There is bundled kit in OS X called Bootcamp which
is pretty good if you need to run Windows 7 or above in a native
environment. Or you could opt for something like Parallels, if you want
to run another OS inside the one you are currently working in.

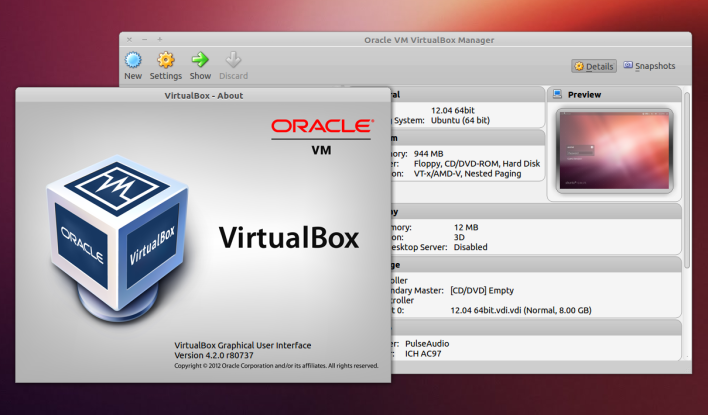
I have found VirtualBox to be a great piece of freeware that allows you to have multiple OS running inside a virtual environment on your desktop. The trouble with setting them up is they do take a while; it would be great if there was some workaround to shorten the process…thankfully there is!
Snapshots are a huge time saver. The basic idea of a snapshot is that you setup your virtual machine of the OS you want in VirtualBox. Install it exactly how you need it, then take a snapshot. Once this is done you can make any changes you desire. The idea is that you can then just roll back to the snapshot and your virtual machine will be like new. It is a great way to do lots of testing etc, without wrecking your setup.
Taking a Snapshot
To take a snapshot in VirtualBox: open up your Virtual Machine and click on the Machine menu item, then select Take Snapshot. Then give your snapshot a name and description. The VM will dim periodically while a snapshot is taken.
Reverting To a Snapshot
To revert to a snapshot you need to make sure the VM is not on, so shut it down in the normal way. Next select your VM from the list and switch to the snapshots view. In here you will see the list of snapshots. To restore to a snapshot, just right click on it and choose Restore Snapshot from the Context Menu. Usually you want to uncheck the option to create a snapshot of the virtual machine current state. This is because you will normally want to restore back to your original if you have made serious errors; obviously there is no point in snapshotting a broken configuration.
Next you will see that the “Current State” will now become the same as the snapshot you selected to restore to. When you power on the VM you will see the it quickly reverting.
Comments
Post a Comment